Activities

White Water Rafting in Ottawa

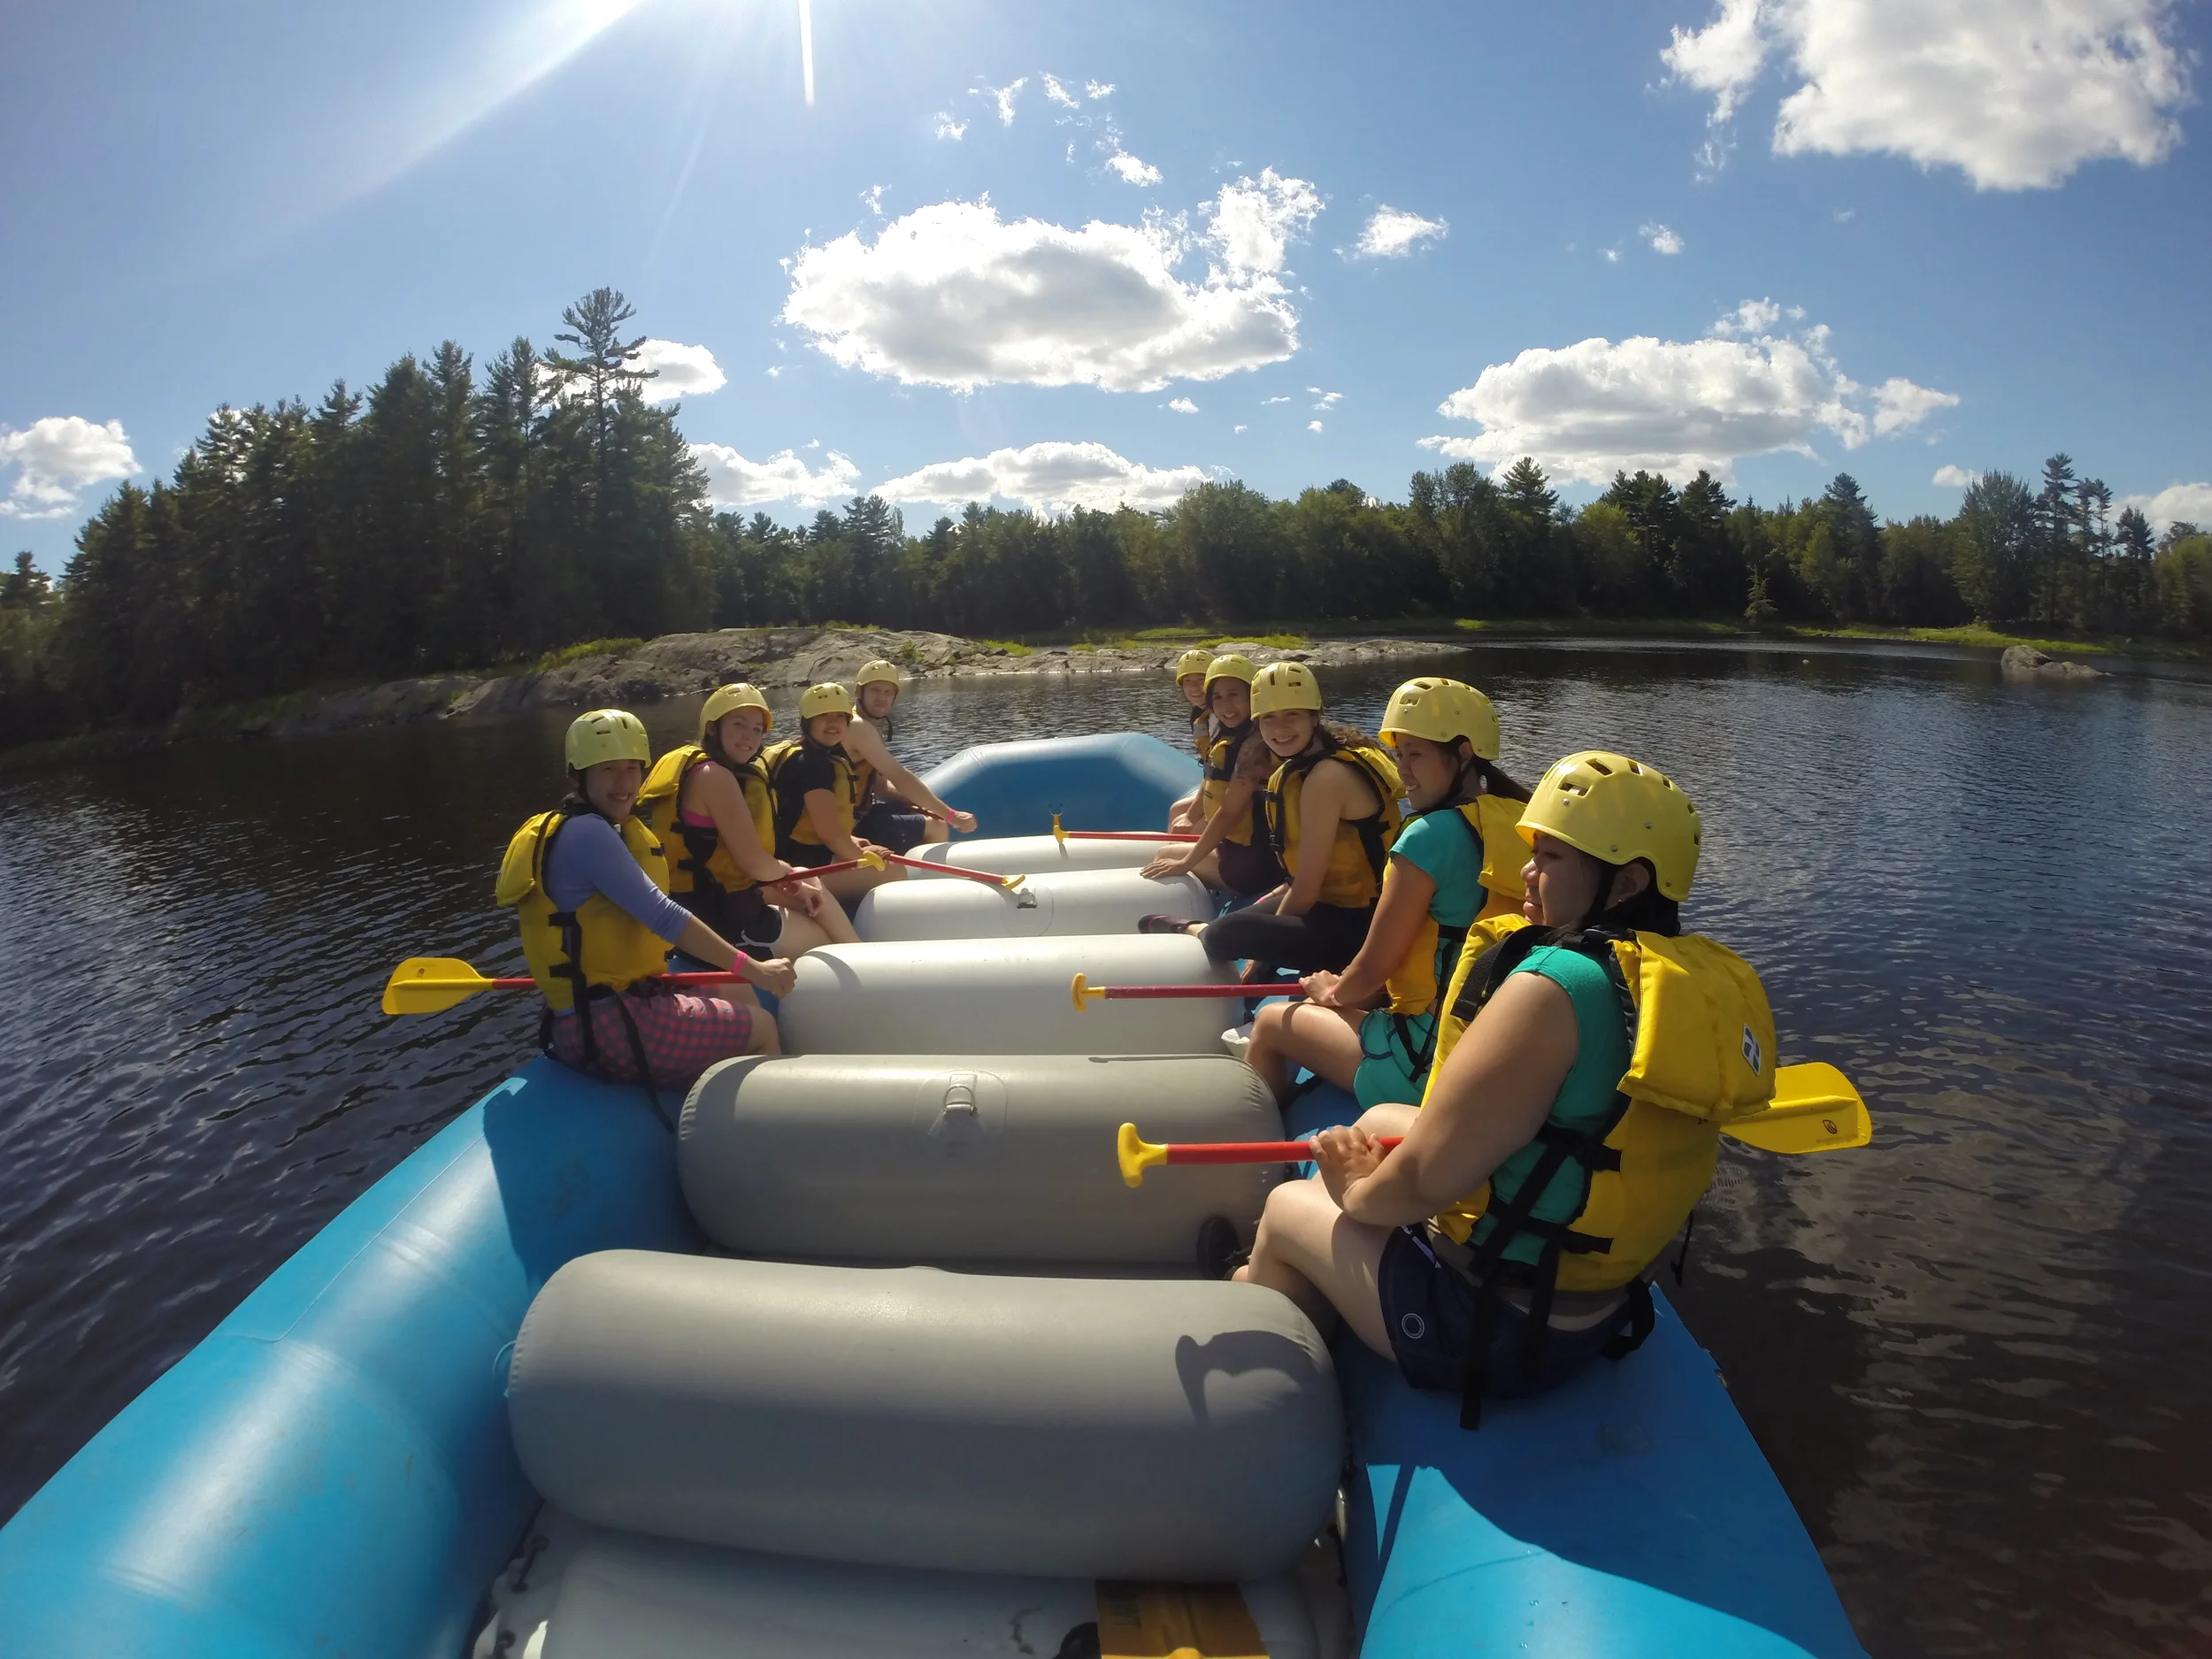
If you're looking for a thrilling adventure in the water, try white water rafting. We went to Wilderness Tours in Ottawa and did the Classic Express Trip. The trip offers the opportunity to swim, cliff jump and raft through rapids! 

A few notes:

  • Remember to wear clothes you don't mind getting wet and can dry quickly. 

  • Water shoes or sturdy sandals are ideal because you'll have the opportunity to cliff jump into the river. 

  • Ask for Bernie! We had him as our rafting guide and he was really fun! 

Happy adventuring! 

Canoeing, hiking and caving at Rockwood Conservation Area

With towering limestone cliffs, caves and glacial potholes, it’s no wonder that Rockwood Conservation Area is a popular destination for an outdoor adventure! From camping and picnicking to canoeing and swimming, this park is filled with tons of activities to enjoy. 

Within the Conservation Area, there are two trails: Pothole Trail and Cedar Ridge Trail. Offering impressive views of the park, they take you around the reservoir, along the tops of cliffs, across boardwalks through wetlands and beside big glacial potholes, glacial bluffs and caves. The trails are of moderate difficulty can be accessed from the beach or the Harris Woolen Mills ruins. 

If you’re looking to try something different, you can rent a canoe, kayak or paddleboat and explore the Eramosa River. You can find the rental kiosk on the beach. We rented a canoe for one hour and managed to see everything. Once you hit the water, there's a few neat views to check out. We found a cave, a dam with a waterfall and beautiful views of the natural geological features. 

When you're feeling ready to wind down, you can always hit the beach on a hot summer day to swim or relax in the sun or grab a bite to munch on from the concession stand. Get out and enjoy the outdoors! 

NOTES:

  • The park offers camping, hiking, canoe/kayaking, fishing, cycling, swimming, mini-golfing and picnicking. 
  • It's opened all-year round from 8:00 a.m. until sunset. 
  • Entrance fees: $6 for adults, $5.25 for seniors and $3 for children (6-14).
  • Dogs are allowed and must be leashed. They're not allowed in the beach area. 
  • Boating rental fees (canoe/kayak/paddle boat): $15/hour for weekdays and $20/hour on weekends. They also require a $50 deposit fee. In the fall, the kiosk is only opened on weekends. 

Happy Adventuring! 

Canoeing on the French River

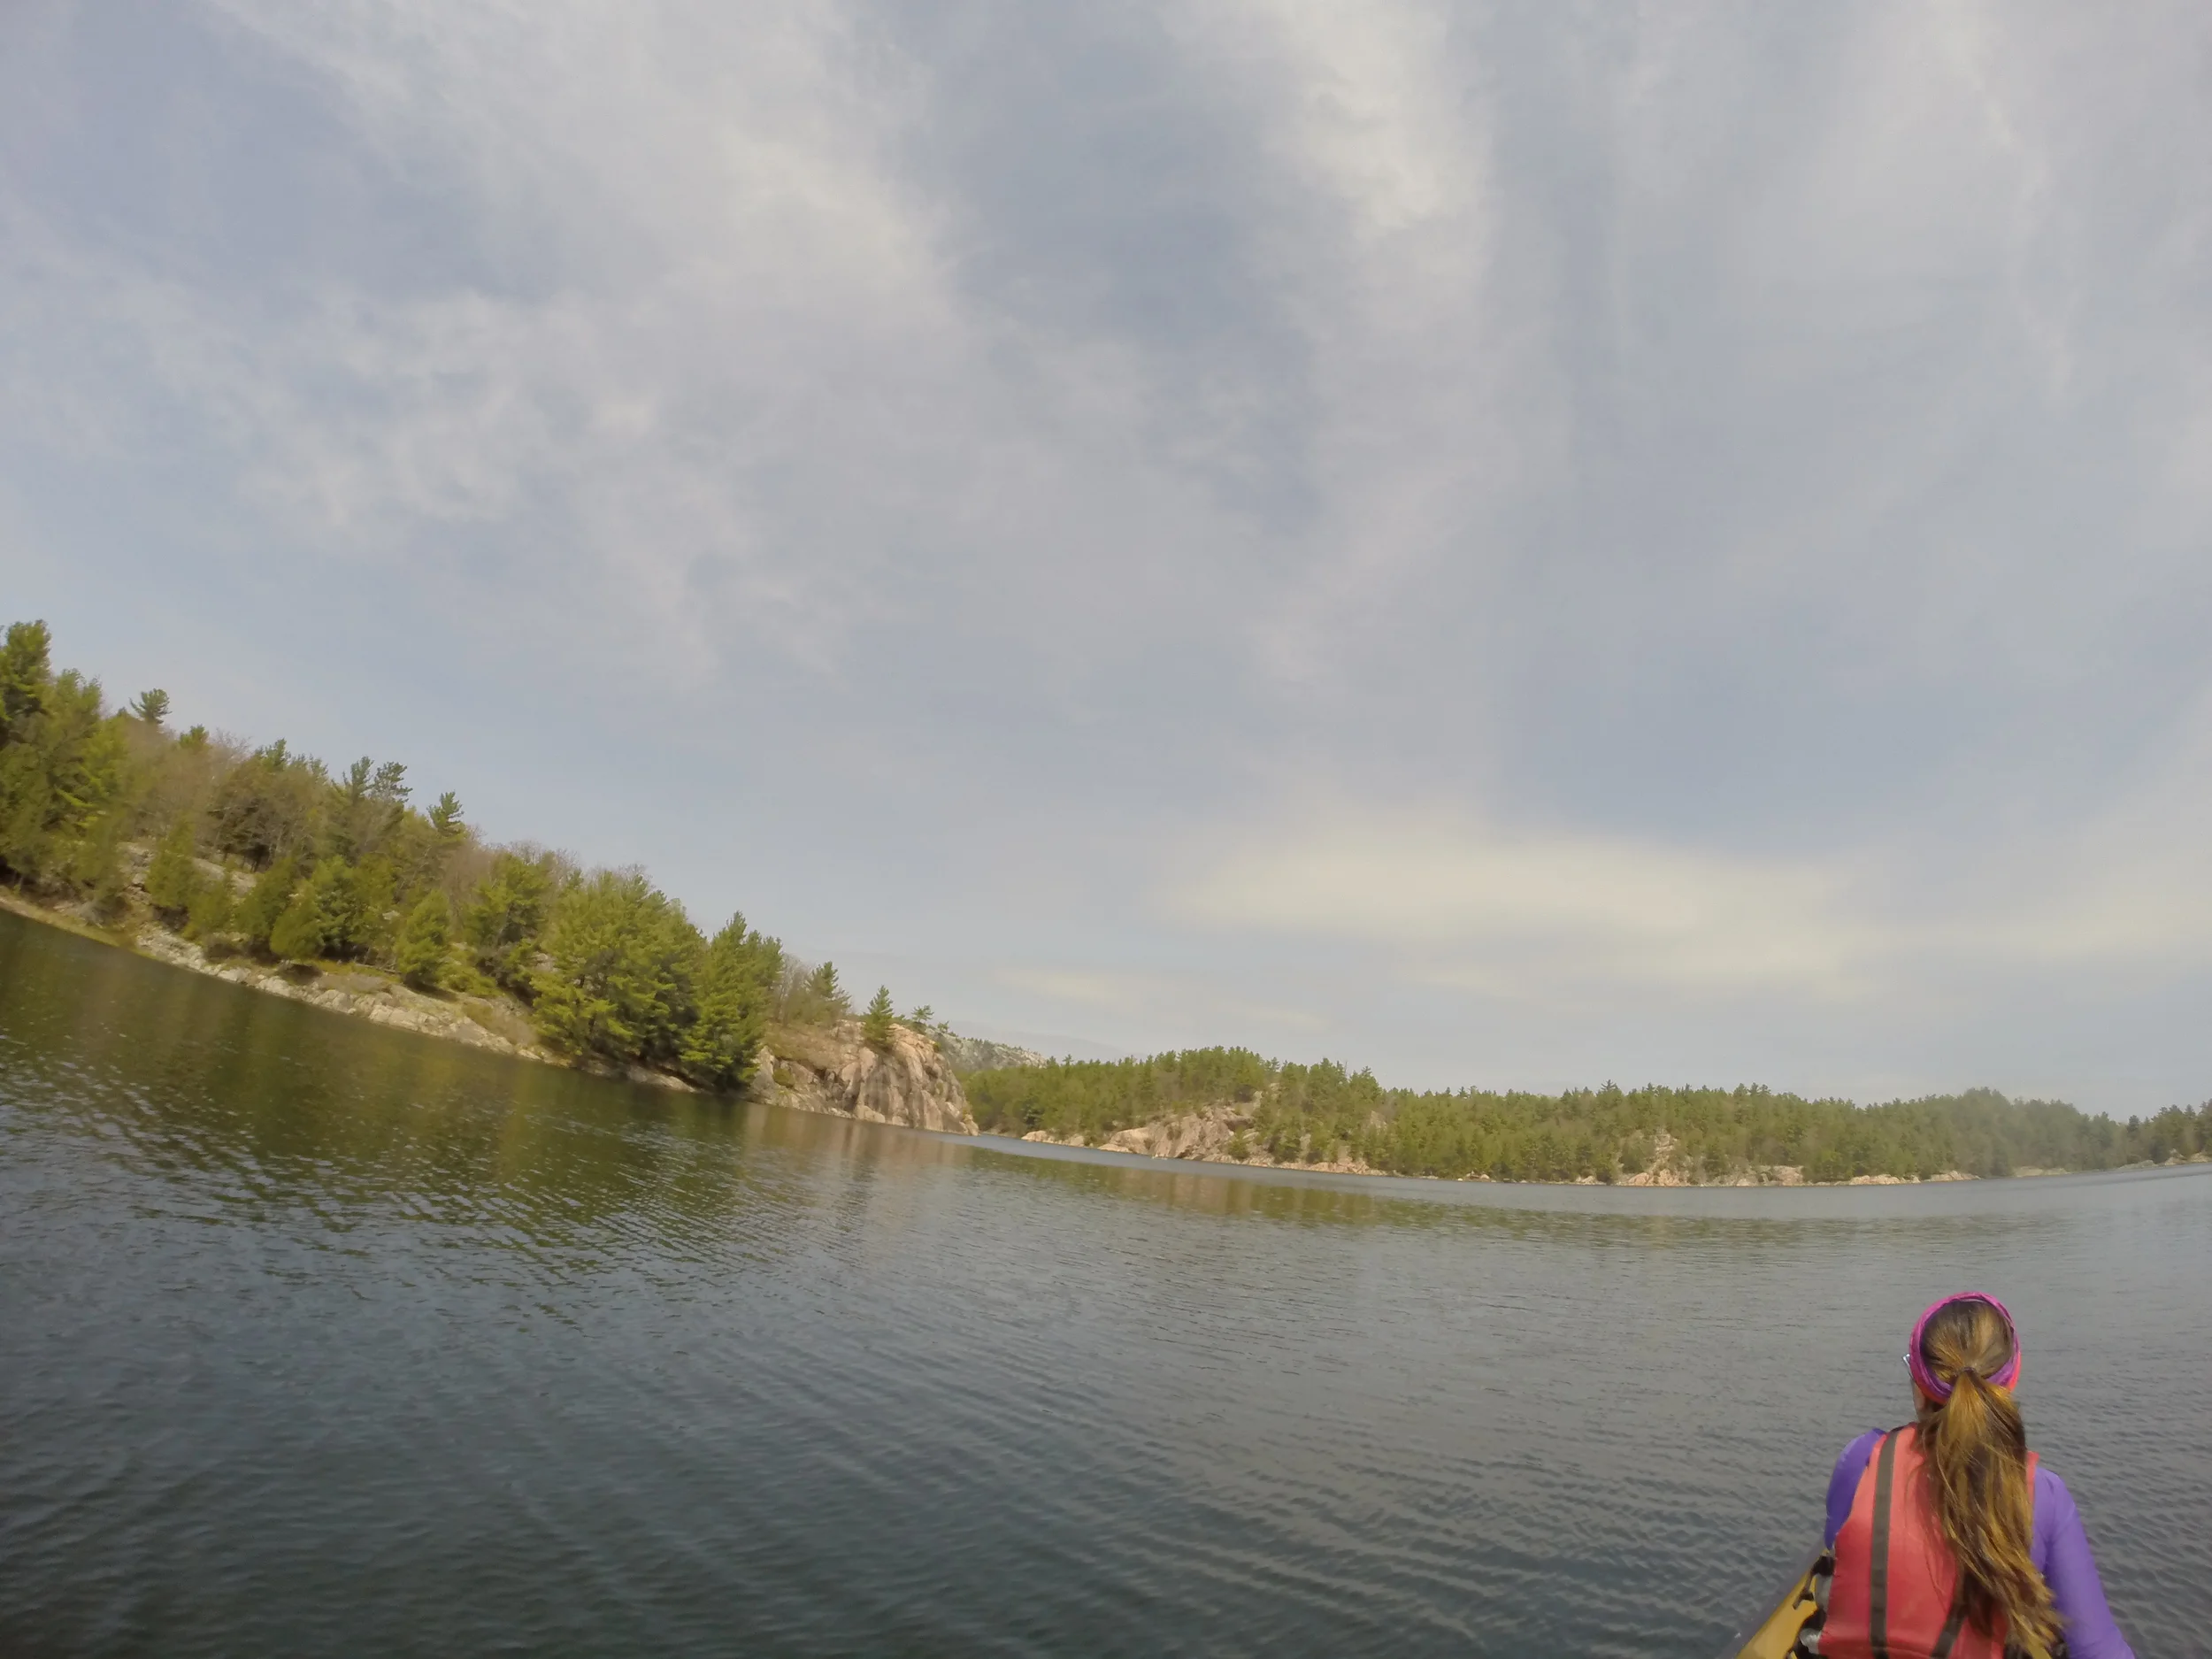
As a relatively untouched place by modern society, the French River is a great tourist destination for fishermen, paddlers and outdoor enthusiasts. The 110 kilometer river has many established canoeing routes along the historic French River and beautiful Georgian bay.

Let's get started!

We went to Hartey Bay Marina, which is about a 3.5 hour drive north of Toronto. Once you get there, you will need to register at the front office and then they'll redirect you to the dock to get set up. 

From here, it's pretty much a "choose your own adventure." Whether you're here for a one day or a few days, make sure to map out a route to take. You can ask the people working there what route would best suit your needs. Invest in a map if you're heading out for a few days! 

Notes:

  • Canoe rental is $35/day. There's a $10 launch fee and a $10 parking fee. All their canoes are 16 ft Nova Crafts and seat two people (but we seated three). They come with paddles, life jackets and safety equipment. You can visit the site here for other rental options. Try to reserve ahead of time to ensure availability! 
  • Check here for a map of the river and popular routes you can take. 
  • Experience the French River by renting a cottage, go backcountry camping, canoeing, kayaking or fishing! 
  • The current can get pretty strong once the river opens up, so be ready to paddle! 
  • Remember to pack bug spray, sunscreen and tons of water! 

Let's be real here

Canoeing gets pretty tiring after the first few hours. We spent 6 hours out on the water with a lunch break on an island. We also didn't have a map, so we didn't go out too far. But we did end up in a swampy area with tons of wildlife. We ended up seeing a baby bear, which Chechi scared off because she got too excited. Typical. 

Happy Adventuring!

A Toronto Islands Kind of Adventure

As one of Toronto's top attractions, Toronto Islands is a great escape from the city life. Spend the summer day taking part in one of the many activities that the islands offer.

Let's Get Started

To get to Jack Layton Ferry Terminal, you can either take the TTC or walk there. It's located at the foot of Bay Street at Queens Quay. 

TTC: From Union Station, take the 509 Harbourfront or 510 Spadina streetcar south to the Bay and Queen Quay stop. Head south down the street to reach the ferry terminal. 

Walk: From Union Station, walk south down Bay Street. You'll eventually reach the park entrance via the walkway between Westin Harbour Castle hotel and Harbour Castle condominiums. It only takes 10 minutes. 

Toronto Islands: You'll need to take the ferry to get to the island. Depending on what activities you want to do, you can choose which section of island to visit. Enjoy the ride over and spend the day out in the sun exploring.

Notes: 

  • Ferry rides$7.25/adult; $4.75/student(19 and under) or senior; $3.50/junior (14 and under). The price is for round-trip. The ferry comes about every half hour. It's a 15 minute ride. Peak hours are from 11 a.m. - 2 p.m, so try to avoid those times if you can. 
  • Bike Rentals: You'll need an identification card to rent. It's cash only and there's a deposit fee as well that varies depending on which bike you're renting. The minimum rental is 1 hour and you're only given 5 minute leeway before you're charged for another half hour, so be punctual! You can choose between a single bike, tandem bike, two-seater or 4-seater quadricycle. Rental is on Centre Island, but feel free to explore both ends of the islands. 
  • The island has Centreville, beaches, canoeing and kayaking, bike rentals, festivals (depending on the day), restaurants and picnic areas. 

Happy Adventuring!

8 Steps on How To Canoe: Killarney Provincial Park Edition

Ever wanted to try canoeing? It's a pretty fun outdoor activity where you can experience the water, feel the breeze in your hair and increase your aerobic fitness, strength and flexibility. Paddling allows you to travel and see sights only accessible by water.

Let's get started! Below is a list of steps on how to canoe:
 

Step 1: Buy or rent a canoe
If you can afford it, buying a canoe is ideal since you can use it on multiple trips. But it 
can get pretty expensive and you will need a place store it after. So, if you're on a budget like us, opt for renting a canoe at a park. It's pretty affordable and will range between $30-50 depending on whether you're renting for a half day or full day. 

Step 2: Acquire canine companion (optional)
Now this is dependent on your canine companion.

Is your dog well-trained? Will your dog listen? Is your dog calm? If the answer is yes, then you can bring your dog and have an enjoyable time.

If the answer is no, then you could still bring your dog. Just note that you'll have an interesting time. And by interesting, I mean difficult. 

Step 3: Use insect spray
Use the insect spray before starting this activity because large bodies of water are a great mating ground for insects.

Step 4: Gear up! 
Life jacket? 
Paddle?
Canoe?
Swimsuit?
Water shoes?
Sunscreen? 
Hat?
Whistle?
Dry bag?
Emergency bag?

Step 5: Get into the canoe
Position the canoe so it's perpendicular to the shore. It should be half in and half out of the water. The person at the front and middle get in first and the last person pushes the canoe into the water. Once it's in, jump in.

Step 6: Start paddling
Start paddling forward. Sit upright, lean forward and place one hand at the paddle's grip and the other hand in the centre of the shaft. Pull through the water alongside the boat. Remember to paddle on opposite sides of each other. When you're tired, let your canoe mates know so they can switch sides. 

If your sitting at the back, you have the special job of steering the canoe. The canoe will often veer to the left or right. To correct this, paddle on the same side. 

Step 7: Start exploring! 
Are there islands to visit?
Rock formations to see?
Vegetation you want to check out?
Is there a beaver dam?
Is there a waterfall?
Are there more lakes to see?

Step 7: DON'T TIP THE CANOE! 
Make sure all your weight isn't positioned onto one side of the canoe. Our lovely canine companion decided to lean over to the same side as us. This was while we were paddling on the same side. We had to deal with a scared dog while trying to flip the canoe over. 

 If you can, avoid it, especially in deep water. 

Step 8: Landing the canoe
Position the canoe perpendicular to the shore. Slow the speed down because you don't want to damage the canoe. Once it hits the shoreline, get out and pull it further inwards. 

Happy Adventuring! 

Canoeing at Awenda Provincial Park

Not many people are willing to go on an adventure at 4 p.m. on a weekday. Lucky for us, we're not like most people. A spontaneous decision led us to drive up North to Awenda Provincial Park for the evening. 

We rented a canoe and paddled out towards the middle of the calm water to enjoy the view and peacefulness of the outdoors. We brought our bubbles, our GoPro and an adventurous attitude. Except for the black flies constantly biting us, it was an amazing way to escape from the city life. There isn't a better way to end the day than watching the sunset from a beach. 

Happy Adventuring!

Have You Ever Wanted to Fly a Kite?

If you're looking for an simple adventure, you should try flying a kite. Why not? It's cheap, there are cool designs and it makes you feel like a kid again. After a simple observation that it's windy outside, Chechi and I decided that flying a kite seemed like a good idea. We thrive on random and spontaneous adventures, so this isn't really out of the ordinary.

Below is a list of steps on how to fly a kite:

Step 1: Buy a kite. We're broke students who decided getting the cheapest and sturdiest kite was ideal. After a trip to Walmart and an argument on which design was the best, we got our shark kite for $15. Da-dum...Da-dum...Da-dum da-dum da-dum!

Step 2: Acquire canine companion (optional). You can probably skip this step, but bringing a dog makes the experience just a little bit more fun, especially if he's trying to chase you as you run. Bring your furry friend if you're looking for a challenge. 

Step 3: Read instructions and assemble kite. We sorta skipped reading the instructions part. We just attempted to put the kite together and tried to fly it. It seemed pretty self-explanatory. 

Step 4: Make mistakes. It turns out, it was much harder than expected. We would get the kite up for a few seconds before it crashed to the ground. Not cool. 

Step 5: Fly the kite. After multiple attempts, we finally got it in the air long enough to take a few snapshots. Just wait for a big gust of wind and start running! 

I hope you all are inspired to be a kid again. It's a pretty fun activity and isn't too time-consuming for those of you who are busy. Just get outside and fly a kite! 

Happy Flying!